Plasterboard is a popular material used in modern construction for its ease of installation and smooth finish. Hanging plasterboard can seem like a daunting task, but with the right tools and techniques, it can be a straightforward process. Properly hanging plasterboard involves precise measurements, careful installation, and finishing touches that result in a smooth, professional-looking surface.
In this blog, we will discuss how to properly hang plasterboard, step by step, to ensure that your installation is a success. Whether you’re a DIY enthusiast or a professional builder, these tips and techniques will help you achieve a flawless finish on your project.
Mounting Plasterboard the Right Way
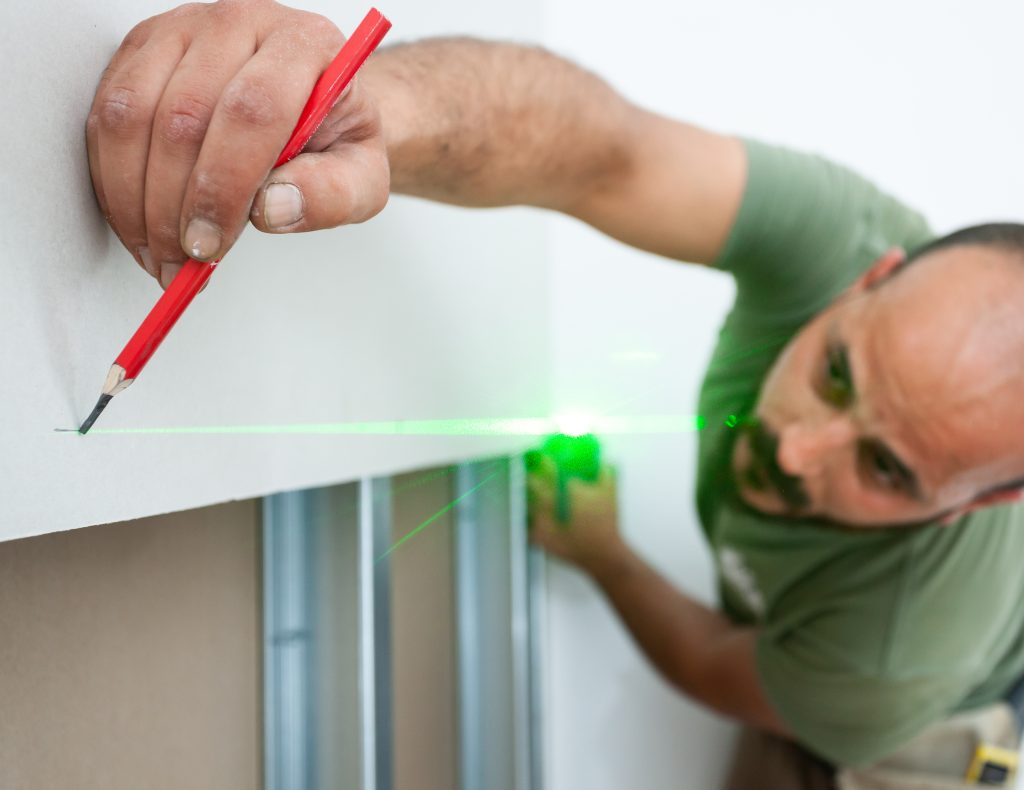
Measure & Cut the Plasterboard
One of the first and foremost steps is measuring the height and width of the wall where you want to install the plasterboard. Use a pencil and a straightedge to mark the measurements on the plasterboard itself, ensuring you have the exact measurements, with enough forgiving space for mistakes. From there, use a utility knife (carefully) or a saw to cut the plasterboard to the dedicated size.
Install Top & Bottom Sheets
The first step in mounting plasterboard correctly is to install the top and bottom sheets. Start by placing the bottom sheet in position, making sure it is properly levelled. Drive screws into the bottom of the sheet and repeat the process with the top sheet as well – You want to make sure there is a 3-5mm gap between the sheets to allow for expansion.
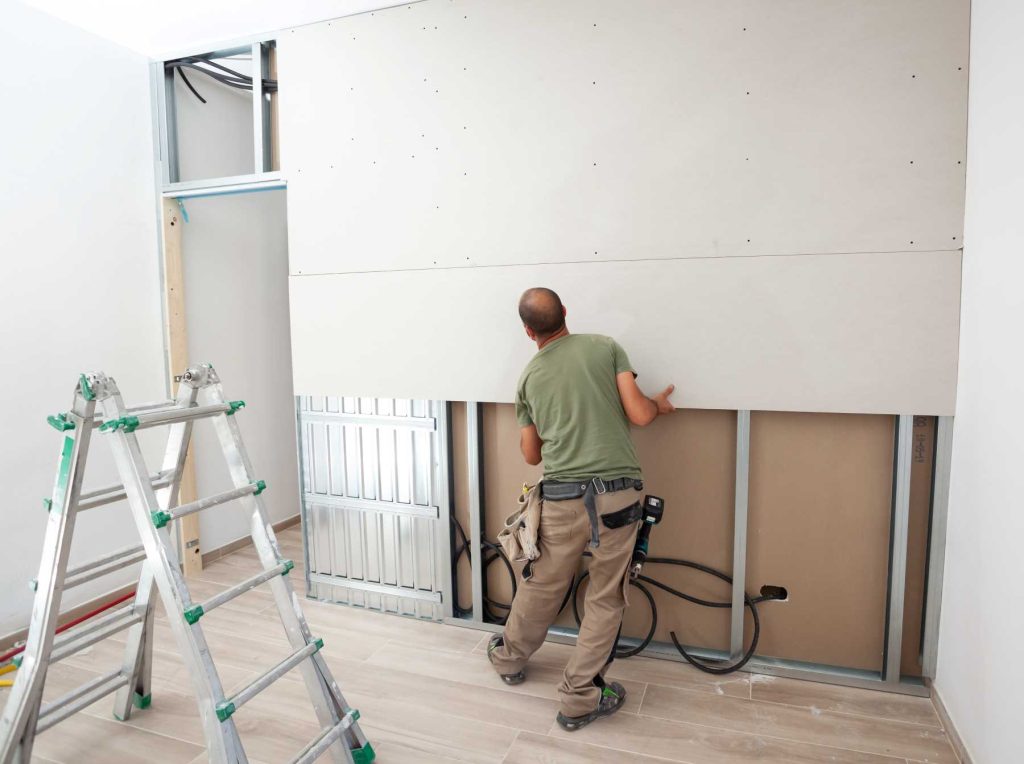
Install the Remaining Sheets
Next, install the remaining sheets of plasterboard. Start at the top of the wall and carefully work your way down. Make sure the edges of each sheet are butted tightly against each other while you do this as well, to ensure there are no gaps in between that could weaken the hold. Use a T-square to ensure that each sheet is straight and level; Screw each sheet in place every 200-250mm.
Tape & Joint the Plasterboard
Once you have been able to hang plasterboard sheeting to your wall, it’s time to tape and joint the seams. Here, you want to carefully apply a layer of joint compound along each of the seams with a trowel, then place a strip of paper tape over the joint, pressing it firmly into the joint compound. With the trowel, us it to smooth out any bubbles or wrinkles in the tape, ensuring it is flush.
Apply a Second Coat of Joint Compound
Once the first coat of joint compound has dried, it’s time to go in and apply a second coat. Here, you want to make sure you are using a wider trowel and apply a wider layer of compound – feather the edges of the compound to blend it in with the surrounding wall as well. Then, give the compound some added time to completely dry.
Sand the Joint Compound
Now, once the second coat of your joint compound has dried, it’s time to start sanding it. You’ll want to use a sand block for this, or even a power sander for optimal smoothing of the compounds finish. Be careful not to sand too much of the compound, though, as you may start to expose the tape that is acting as a hold for the surface.
Finish the Plasterboard
Finally, once all of these steps in mounting plasterboard have been implemented, you can finish installing the plasterboard by applying a coat of primer and paint. Alternatively, if you want something that is going to stand out some more or become a feature for the space, you can apply wallpaper or other wall coverings of your choice.
Shop Plasterboard with BetaBoard Today!
Ready to grab some materials to hang plasterboard sheeting? Organise a quote today or browse our range of plaster supplies now! For more of what we have to offer alongside our plasterboard supplies, visit one of our 5 stores in your nearest location.