Whether you are a regular plasterer or looking to take up the trade as a hobby, it is important to keep a plastering tool kit. Any quality plastering kit will contain a range of tools to assist you during your plastering jobs to achieve the best quality result. With these tools at your disposal, you won’t need to call a professional again as you become a plastering professional.
No plastering kit would be complete without tools like a hawk, a mixing bucket, or a plasterer’s brush, and this blog will tell you the other necessary items to complete your kit. By having a practical kit at your disposal, you will be equipped for any future projects.
To get started on building your kit, come and visit us in one of our 5 stores to browse the best plastering supplies Brisbane has to offer. You can also get in touch online.
Plastering Tool Kit Essentials
Mixing Bucket
The most basic component of your kit is also your most useful, making a mixing bucket an essential part of your arsenal. As the name implies, the bucket is used to mix the plaster together and needs to be easy enough to transport around your job site. It is also recommended to have a spare, clean bucket to be used for water so you can clean your tools to avoid them becoming covered in dry plaster.
Mixing Paddle
A mixing paddle is used to create the mixture that will be in your bucket. After placing the plaster mixture and water into the bucket, attach the mixing paddle onto a power drill and mix the materials in the bucket until they reach the required consistency.
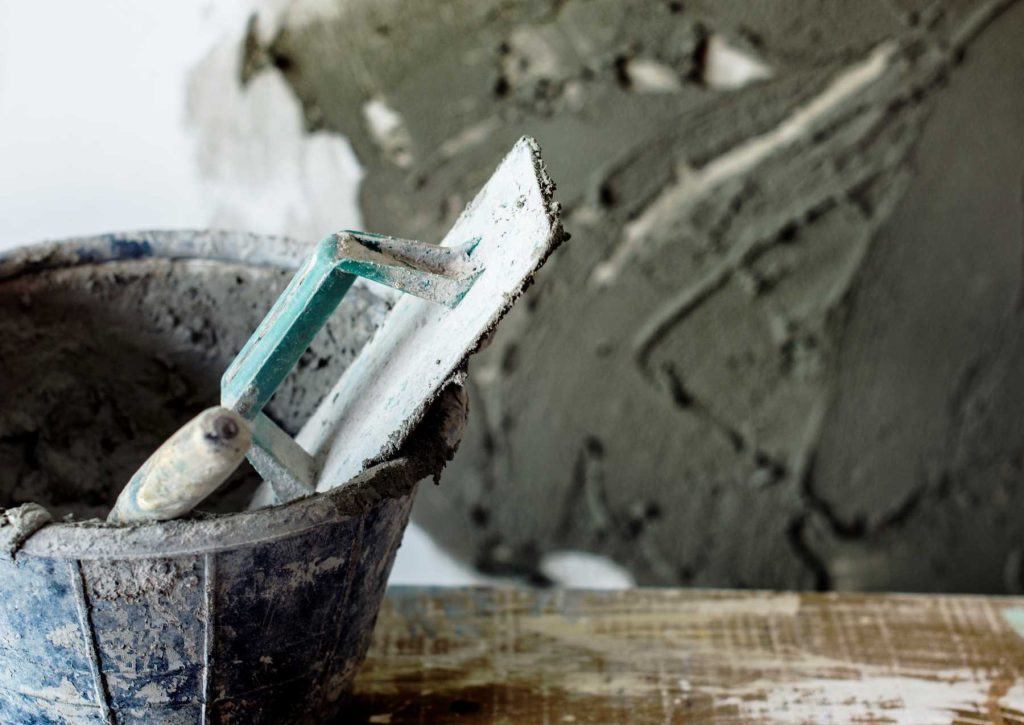
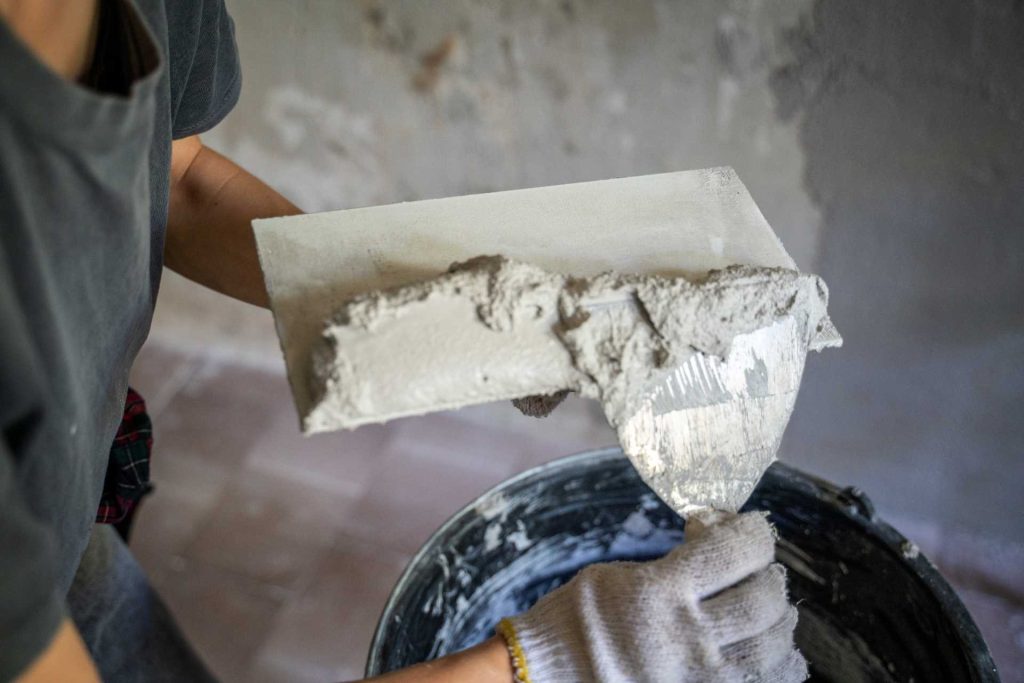
Bucket Trowel
A trowel is the quintessential tool used in plastering, and a bucket trowel is used to transfer plaster from your bucket to where the plaster is needed. Its flat, rectangular design allows it to easily fit inside the bucket to scrape up all the plaster, while this flat shape also makes it perfect for spreading across the walls and other surfaces you are working on.
Hawk
A hawk is used between the mixing bucket and what you are plastering, saving you time from having to go to the bucket each time. As you use your trowel to scrape up mixture from the bucket, it is recommended to place it on your hawk so you can carry it with you in one hand and use your trowel to take mixture from it with the other.
Trestle
A trestle is a useful tool to have on-site as it offers you a place to put down your hawk for easy access while you are plastering. It can also be used to hold any other tools or materials you need on hand. Trestles are easily adjustable and can be arranged to stand at a height that best suits you.
Plasterboard Saw
It is always good to keep a saw handy, especially when it comes to cutting up sheets of plasterboard. Having a designated saw in your plastering kit will let you cut any plasterboard to size to accomplish your task.
Utility Knife
Like the saw, it is handy to keep a utility knife in your kit. The small blade can be used for cutting plasterboard, scoring surfaces, or trimming any excess materials.
Plastering Brush
Once you are ready for your final coat, a plastering brush is used to go over your plaster one last time. This is to stop the plaster from pulling and so that you can achieve a perfect finish for your project. A plastering brush typically coats the plaster with water and can prevent the plaster from setting too quickly. A 6” brush should be big enough for most jobs.
Build Your Plastering Tool Kit with BetaBoard Today
If you need supplies to build your own tool kit, visit BetaBoard to stock up on all your plasterboard tools. We have 5 locations across Brisbane, Logan, Ipswich, and North Lakes, and our friendly staff are on hand to answer any questions you may have about the plastering process and the tools required. You can also get in touch online, where we will respond to your enquiry as soon as possible.