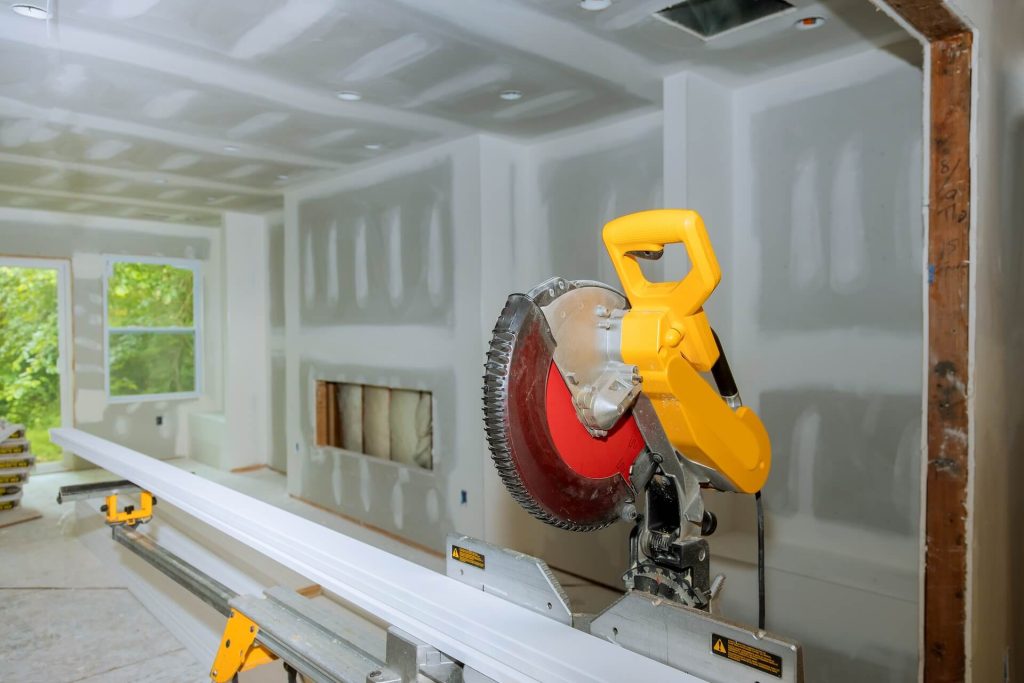
Plasterboard taping can be a complicated task for your average DIYer, especially if this is your first time attempting such a task. Fortunately, there are certain handy steps you can follow to make taping and jointing plasterboard a breeze. Once you have this process down, taping plasterboard will come to you like second nature. It is important to follow these steps directly, as a poorly completed job threatens to have your plasterboard looking rushed and unprofessional. Even though the task itself can be time consuming, the commitment is worth it to create a home improvement project you’re proud of.
If you are seeking high quality plasterboard supplies, visit us at your nearest store or get in touch online for enquiries.
Required Materials
Like any task, it all begins with having the right tools for the job. Gather the following before attempting taping and jointing plasterboard, and if you are missing anything, visit your local BetaBoard store to find what you need.
- Drywall knife
- Drywall tape
- Jointing compound
- Mud pan
- Sandpaper
Create Your Jointing Compound
At this stage your plasterboard should already be installed on your walls and ceiling. After the plasterboard is in place, it is time to create your jointing compound, or mud, by mixing the material with water until it is thick enough to be applied. Once it has achieved necessary thickness, place enough of the compound to your mud pan to get started. When it comes to choosing which compound to use, there are several ready-mixed options which make it easy for beginners to use so they can avoid having to mix it themselves.
Fill the Gaps Between Your Boards
Once your plasterboard has been hung, there should be gaps no bigger than 1mm between the boards. After these gaps have been identified, it is time to begin filling these spaces with your compound and your drywall knife. The objective is for these gaps to no longer be visible, so don’t be afraid to use a generous amount of compound until you are satisfied. Make sure to apply the compound to the screw holes in your plasterboard as well, to ensure a smooth and complete finish. After you have finished applying the compound, smooth over it so it is as flat as possible while covering the area around the joints as well.
Apply the Tape
Once you are satisfied with your jointing handywork, it is time to start applying tape to the jointed areas. It is wise to measure and cut the tape beforehand to avoid using an excess amount or coming up too short. The compound will still be wet, so carefully apply the tape without making too much of a mess. Use the knife or a scraper to press the tape down on the surface, releasing any air bubbles or excess compound that may be trapped. This excess compound can be wiped away and put back in your mud pan for later use.
Apply a Second and Third Layer of Compound
A second layer of compound can now be applied over the tape to create a smooth surface. Read the instructions that came with your compound to see if additional layers should be added when the first layer is dry or wet. If dry is specified, you may need to wait from 6 hours to several days to continue taping and jointing plasterboard. Use your knife again to ensure the tape remains flattened against the surface, before applying a final layer of compound over a wider area to cover up the edges.
Sand the Joints
After you are finished applying compound and it has dried, it is time to finish the job with some sandpaper. Lightly sand all compound areas on your plasterboard to create a smooth finish. Be careful to not be too rough when you are sanding, as you do not wish to damage the surface and ruin your good work. It may be tricky to get everything perfectly smooth but try your hardest to get it to your liking. Once you are finished with the sandpaper, dust the surface down and you are finished.
Need Supplies for Taping and Jointing Plasterboard?
Whether you are seeking joint knives or plasterboard joint tape, at BetaBoard we stock a wide range of premium building supplies. Our products are perfect for home renovations and are here to help turn your house into the one you’ve always dreamed of. Visit your nearest store to browse our range in person or get in touch online if you require assistance.


