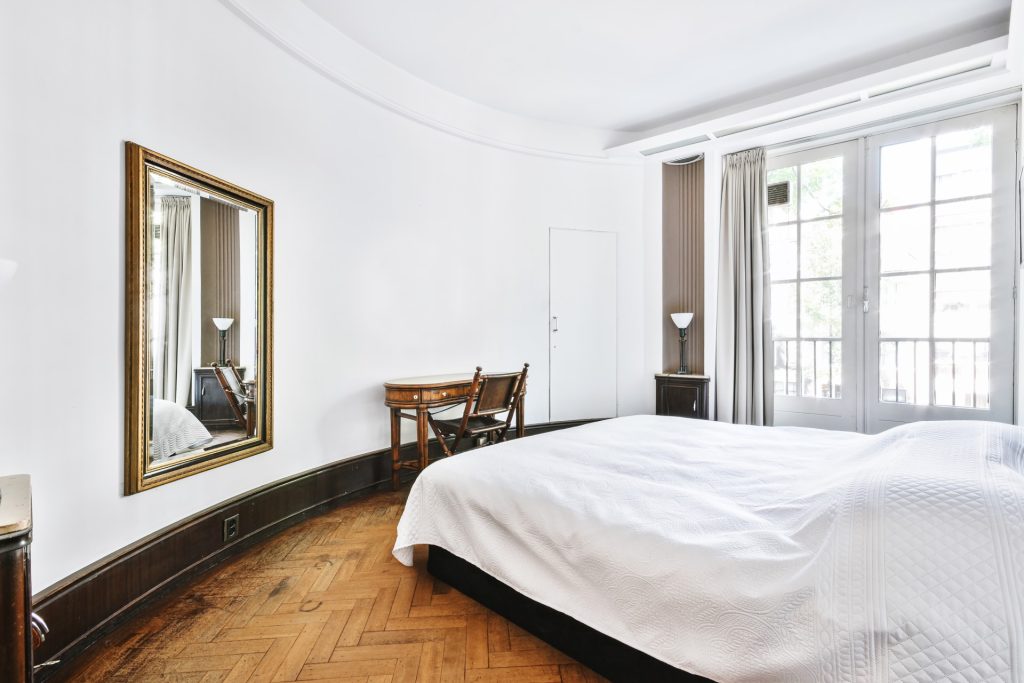
Building a curved interior wall can add a unique and sophisticated touch to any home or commercial space. It can create a focal point, add visual interest, and break up the monotony of straight lines. However, knowing how to build a curved wall the right way requires some planning, patience, and skill.
In this blog, we will discuss the steps involved in building a curved interior wall to help elevate any space – if you’re working towards a unique renovation project or you’re wanting to add a new element of interest into a building and construction plan, let BetaBoard be your source for not only education but the right materials to get the job done right.
A Guide to Curved Wall Construction
Determine the Design & Materials
The first step in building a curved interior wall is to determine the design and materials. The design should complement the existing interior design and be in harmony with the overall aesthetic of the space. The materials should be chosen based on their durability, aesthetic appeal, and suitability for the Australian climate.
Plan the Curve
Before starting your curved wall construction, it’s important to plan the curve of the wall. This can be done by creating a template using a piece of string or a flexible material such as plywood. The template should be cut to the desired curve (using accurate measurements of course) and used as a steady guide for laying out the wall.
Frame the Wall
Once the curve has been planned, it’s time to figure out what you’re going to frame the wall with. This generally involves building a frame that follows the curve of the wall using either timber or steel studs. It’s important to ensure that the frame is level and plumb so that the frame provides a smooth and accurate curve.
Add Insulation & Soundproofing
Before adding the finishing materials to your curved wall construction, it’s important to add a level of insulation and soundproofing to the wall as well. This will improve not only the thermal performance of the structure, but the acoustic performance of the wall as well and create a more comfortable and energy-efficient space.
Finish the Wall with Plasterboard
Once the insulation and soundproofing have been added, it’s time to finish the wall. This is where applying plasterboard or gyprock comes into action. It’s important to maintain a consistent curve during this part of construction, and to ensure that the finishing materials are both smooth and even for the ultimate aesthetic product.
Paint or Wallpaper Your New Wall
Finally, the fun part. It’s time to paint or add your preference of wallpaper to the new structure. This can be done in a way that complements the overall space of your home, whether it’s going to act as a feature wall or simply an elegant touch to the zone, it’s the best time to get creative. It’s imperative that you choose high-quality and durable paint or wallpaper, something that is going to withstand wear and tear of everyday life, but also hold up against the overall environment.
Knowing how to build a curved wall is going to take careful planning, lots of attention to detail, and a keen eye for accuracy as well – but it’s the perfect way to completely elevate your home or your commercial space. In this day and age, interesting architecture is the new wave, and this is the best out-of-the-box consideration to start planning. By following these steps, you can create a beautiful and functional wall that complements the overall design of your environment and adds visual interest and complete sophistication.
Choose BetaBoard Today!
Now that you know how to build a curved wall, start purchasing your materials with BetaBoard. Whether you’re installing some plasterboard or you’re using drywall sheeting, we’ve got everything you need. Visit us at one of our 5 store locations today or get in touch online for more information or if you have any general queries.


